
Cleaning a counter sensor is a crucial maintenance task that ensures its optimal performance and longevity. As a leading supplier of Counter Sensor, we understand the importance of proper cleaning procedures. In this blog post, we will guide you through the step-by-step process of cleaning a counter sensor effectively.
Understanding the Importance of Cleaning
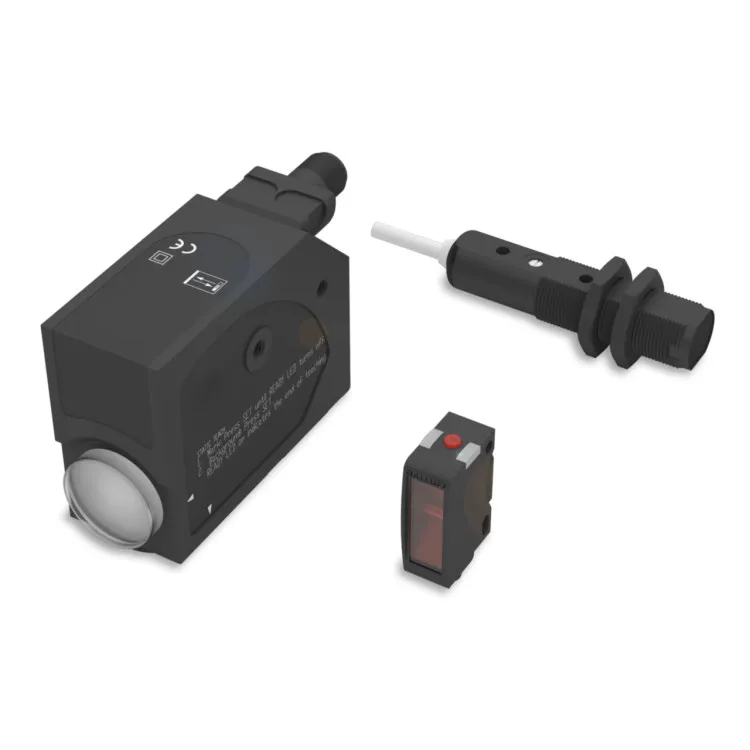
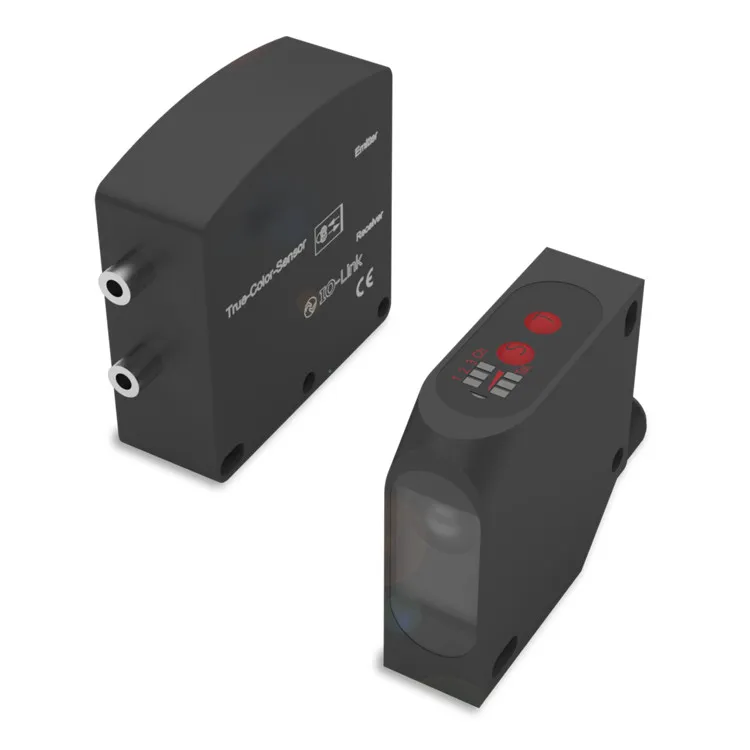
Counter sensors are widely used in various industries to detect and count objects passing through a specific point. Over time, these sensors can accumulate dust, debris, and other contaminants, which can interfere with their accuracy and functionality. Regular cleaning helps to prevent false readings, improve reliability, and extend the lifespan of the sensor.
Preparing for Cleaning
Before you start cleaning the counter sensor, it is essential to take some precautions to ensure your safety and the integrity of the sensor. Here are the steps you should follow:
- Power Off the Sensor: Before cleaning, make sure to turn off the power supply to the counter sensor. This will prevent any electrical hazards and protect the sensor from damage.
- Gather the Necessary Tools: You will need a few basic tools for cleaning the counter sensor, including a soft brush, compressed air canister, lint-free cloth, and a mild cleaning solution. Avoid using abrasive materials or harsh chemicals, as they can scratch or damage the sensor's surface.
- Read the Manufacturer's Instructions: Refer to the sensor's user manual or manufacturer's guidelines for specific cleaning instructions. Different sensors may have different cleaning requirements, so it is important to follow the recommended procedures.
Cleaning the Exterior of the Sensor
The first step in cleaning a counter sensor is to remove any dust and debris from its exterior surface. Here's how you can do it:
- Use a Soft Brush: Gently brush the surface of the sensor with a soft brush to remove loose dirt and dust. Pay special attention to the areas around the lens and the sensor's housing.
- Blow Away Residual Dust: Use a compressed air canister to blow away any remaining dust particles. Hold the canister at a safe distance from the sensor and use short bursts of air to avoid damaging the sensor.
- Wipe the Surface: Dampen a lint-free cloth with a mild cleaning solution and gently wipe the surface of the sensor. Make sure to remove any smudges or fingerprints. Avoid getting the cleaning solution inside the sensor.
Cleaning the Lens
The lens of the counter sensor is a critical component that affects its performance. Cleaning the lens regularly helps to maintain its clarity and accuracy. Here's how you can clean the lens:
- Inspect the Lens: Before cleaning, carefully inspect the lens for any visible dirt, scratches, or damage. If you notice any significant damage, it may be necessary to replace the lens.
- Use a Lens Cleaning Solution: Apply a small amount of lens cleaning solution to a lint-free cloth. Do not spray the solution directly on the lens, as it can seep into the sensor and cause damage.
- Gently Wipe the Lens: Use the dampened cloth to gently wipe the lens in a circular motion. Start from the center of the lens and work your way outwards. Avoid applying too much pressure, as it can scratch the lens.
- Dry the Lens: Use a dry, lint-free cloth to dry the lens thoroughly. Make sure there are no streaks or residue left on the lens.
Cleaning the Sensor's Internal Components (Optional)
In some cases, you may need to clean the internal components of the counter sensor. However, this should only be done if you have the necessary technical expertise and follow the manufacturer's instructions carefully. Here's a general guideline for cleaning the internal components:
- Open the Sensor Housing: If the sensor has a removable housing, carefully open it using the appropriate tools. Make sure to keep track of all the screws and components.
- Remove Dust and Debris: Use a soft brush or compressed air to remove any dust and debris from the internal components. Be careful not to touch any sensitive parts or damage the wiring.
- Clean the Circuit Board: If the circuit board is dirty, you can use a small amount of isopropyl alcohol and a lint-free cloth to clean it. Make sure to dry the circuit board completely before reassembling the sensor.
- Reassemble the Sensor: Once you have cleaned the internal components, carefully reassemble the sensor housing. Make sure all the screws are tightened properly and the wiring is connected correctly.
Testing the Sensor
After cleaning the counter sensor, it is important to test its functionality to ensure that it is working properly. Here's how you can test the sensor:
- Power On the Sensor: Turn on the power supply to the sensor and allow it to warm up for a few minutes.
- Check the Readings: Use a test object to pass through the sensor's detection area and check if it is counting the objects accurately. Compare the readings with the expected values to ensure the sensor's accuracy.
- Monitor the Performance: Observe the sensor's performance over a period of time to ensure that it is functioning reliably. If you notice any issues or abnormalities, contact the manufacturer or a qualified technician for further assistance.
Preventive Maintenance Tips
In addition to regular cleaning, there are some preventive maintenance tips that can help to keep your counter sensor in good condition:
- Keep the Sensor Clean: Avoid exposing the sensor to dusty or dirty environments. If possible, install the sensor in a clean and protected area.
- Use Protective Covers: Consider using protective covers or enclosures to shield the sensor from dust, moisture, and other contaminants.
- Perform Regular Inspections: Regularly inspect the sensor for any signs of damage, wear, or malfunction. Replace any worn-out or damaged components promptly.
- Follow the Manufacturer's Recommendations: Follow the manufacturer's recommended maintenance schedule and procedures for your specific counter sensor. This will help to ensure its optimal performance and longevity.
Conclusion
Cleaning a counter sensor is a simple yet important maintenance task that can significantly improve its performance and reliability. By following the steps outlined in this blog post and taking preventive measures, you can keep your counter sensor in good condition and avoid costly repairs or replacements. If you have any questions or need further assistance with cleaning or maintaining your counter sensor, please do not hesitate to contact us. We are a leading supplier of Counter Sensor, Contrast Sensor, and Colour Sensor, and we are committed to providing our customers with high-quality products and excellent customer service. Whether you are looking to purchase a new sensor or need help with an existing one, we are here to assist you. Contact us today to discuss your requirements and explore our range of sensor solutions.
References
- Manufacturer's user manuals and guidelines for counter sensors.
- Industry best practices for sensor maintenance and cleaning.