
In the realm of industrial automation and machinery, sensors play a pivotal role in ensuring smooth and efficient operations. Among these, the Counter Sensor is a crucial component that accurately counts objects, pulses, or events. However, like any other part, counter sensors may eventually need replacement due to wear and tear, technological advancements, or malfunctions. As a leading Counter Sensor supplier, I am here to guide you through the process of replacing a counter sensor, ensuring that you can carry out this task safely and effectively.
When to Replace a Counter Sensor
Before delving into the replacement process, it's important to recognize the signs that indicate a counter sensor needs to be replaced. Some common indicators include inaccurate counting, inconsistent readings, or complete failure to detect objects. If you notice that your machinery is experiencing production errors or if the counter sensor is frequently triggering false alarms, it might be time for a replacement. Additionally, if the sensor is physically damaged, such as having a cracked housing or frayed wires, replacement is often the best solution.
Preparing for the Replacement
Replacing a counter sensor requires careful preparation to ensure a successful and safe installation. Here are the steps you should take before starting the replacement process:
Gather the Necessary Tools
You'll need a set of basic tools for the replacement, including a screwdriver (both flathead and Phillips), pliers, wire cutters, and electrical tape. Make sure these tools are clean and in good working condition to avoid any complications during the installation.
Select the Right Replacement Sensor
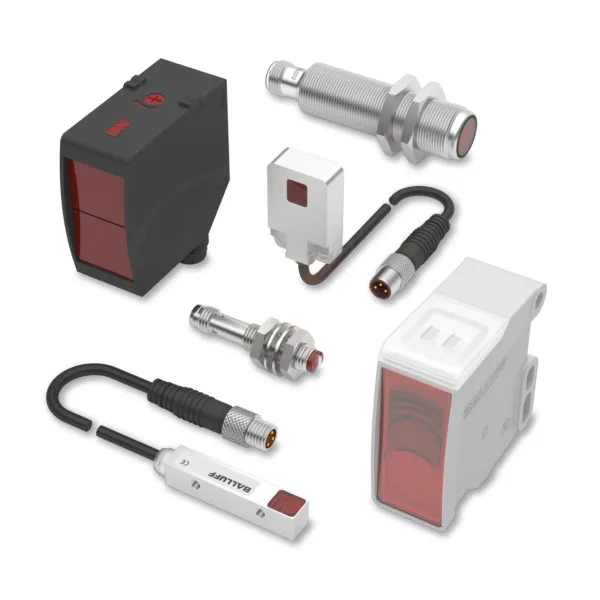
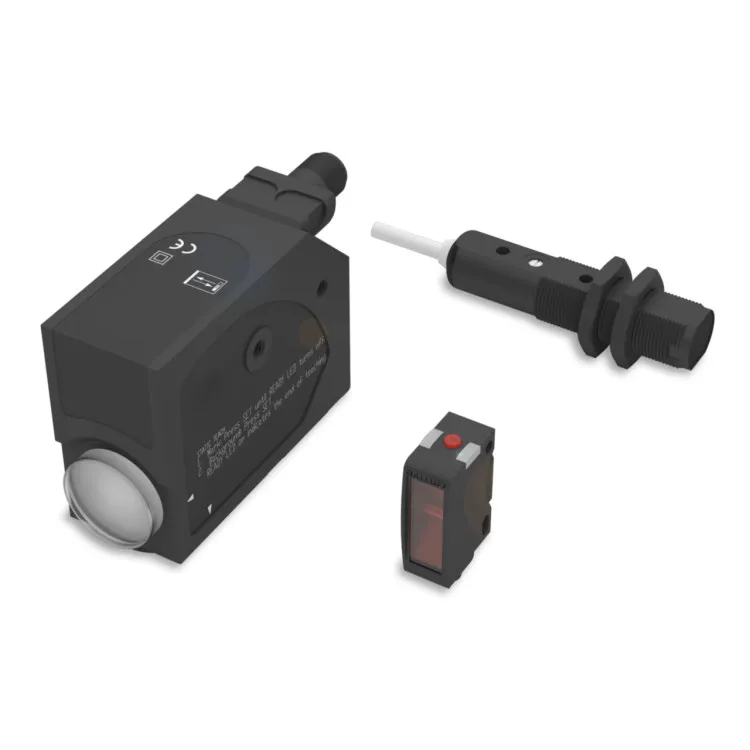
As a Counter Sensor supplier, I understand the importance of choosing the correct replacement sensor. Consider factors such as the type of application, the counting requirements, and the environmental conditions in which the sensor will operate. Ensure that the new sensor is compatible with your existing machinery and control system. You can find a wide range of high - quality counter sensors on our website Counter Sensor.
Power Off the System
Before you start working on the sensor, it's crucial to turn off the power to the machinery and any associated control systems. This will prevent electrical shocks and damage to the equipment. Wait for a few minutes to allow the system to fully power down before proceeding.
Document the Existing Setup
Take photos or make detailed notes of the current sensor installation, including the wiring connections, mounting position, and any adjustments that have been made. This documentation will be invaluable when installing the new sensor, ensuring that you can replicate the setup accurately.
Removing the Old Counter Sensor
Once you've completed the preparation steps, you can start removing the old counter sensor. Follow these steps carefully:
Disconnect the Wiring
Using the appropriate tools, carefully disconnect the wires from the old sensor. Take note of which wire is connected to which terminal to ensure correct re - connection later. If the wires are color - coded, this will make the process easier. Use wire cutters to remove any wire ties or clips that are holding the wires in place.
Remove the Mounting Hardware
Most counter sensors are mounted using screws or brackets. Use a screwdriver to remove the screws or loosen the brackets holding the sensor in place. Be careful not to drop any small parts during this process.
Take Out the Old Sensor
Once the wiring is disconnected and the mounting hardware is removed, gently lift the old sensor out of its position. Place it in a safe location for disposal or further inspection.
Installing the New Counter Sensor
After removing the old sensor, it's time to install the new one. Here's how you can do it:
Mount the New Sensor
Position the new counter sensor in the same location as the old one. Use the mounting hardware you removed earlier to secure the sensor in place. Make sure the sensor is firmly attached and properly aligned for accurate counting.
Connect the Wiring
Refer to the documentation you created earlier to connect the wires to the new sensor. Match the wire colors and terminal connections precisely. Use electrical tape to insulate the wire connections and prevent any short - circuits.
Calibrate the Sensor
Once the new sensor is installed and wired, it's essential to calibrate it to ensure accurate counting. Follow the manufacturer's instructions for calibration, which may involve adjusting the sensitivity, range, or other settings. This step is crucial for the proper functioning of the sensor.
Testing the New Counter Sensor
After installing and calibrating the new counter sensor, it's time to test it to make sure it's working correctly.
Power On the System
Turn on the power to the machinery and the control system. Wait for the system to boot up and initialize.
Perform a Test Run
Feed objects or pulses through the sensor's detection area and observe the counting results. Compare the readings with the expected values to ensure accuracy. If the sensor is not counting correctly, double - check the wiring connections and calibration settings.
Monitor the Performance
Let the system run for a while and monitor the performance of the new counter sensor. Look for any signs of instability, inaccurate counting, or other issues. If you encounter any problems, refer to the troubleshooting section of the sensor's manual or contact our technical support team.
Other Related Sensors
In addition to counter sensors, there are other types of sensors that may be used in similar applications. For example, Colour Sensor can be used to detect and distinguish different colors, which is useful in applications such as sorting and quality control. Contrast Sensor is another type of sensor that can detect differences in contrast, making it suitable for tasks like edge detection and pattern recognition.
Conclusion
Replacing a counter sensor is a task that requires careful planning, preparation, and execution. By following the steps outlined in this guide, you can ensure a successful replacement and maintain the efficiency of your machinery. As a trusted Counter Sensor supplier, we are committed to providing high - quality sensors and excellent customer support. If you have any questions about counter sensors or need assistance with the replacement process, please don't hesitate to contact us. We are here to help you find the best solutions for your industrial automation needs.
References
- Manufacturer's manuals for counter sensors
- Industrial automation textbooks on sensor technology and installation
- Technical documents on electrical safety and wiring standards