
Hey there! If you're here, chances are you're looking to install a colour sensor. Well, you've come to the right place. I'm a supplier of Colour Sensor, and I'm gonna walk you through the whole installation process.
Why You Might Need a Colour Sensor
Before we jump into the installation, let's quickly talk about why you'd want a colour sensor in the first place. Colour sensors are super useful in a bunch of industries. In manufacturing, they can be used to make sure products are the right colour. For example, if you're making cars, a colour sensor can check if the paint job matches the exact shade specified. In food production, it can help sort fruits and vegetables based on their ripeness, which is often indicated by colour. And in printing, it ensures that the colours on the page are accurate.
What You'll Need
First things first, let's gather all the tools and materials you'll need for the installation.
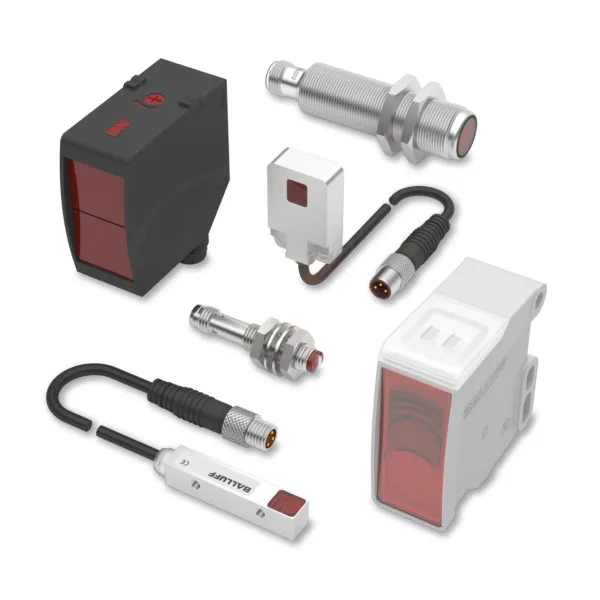
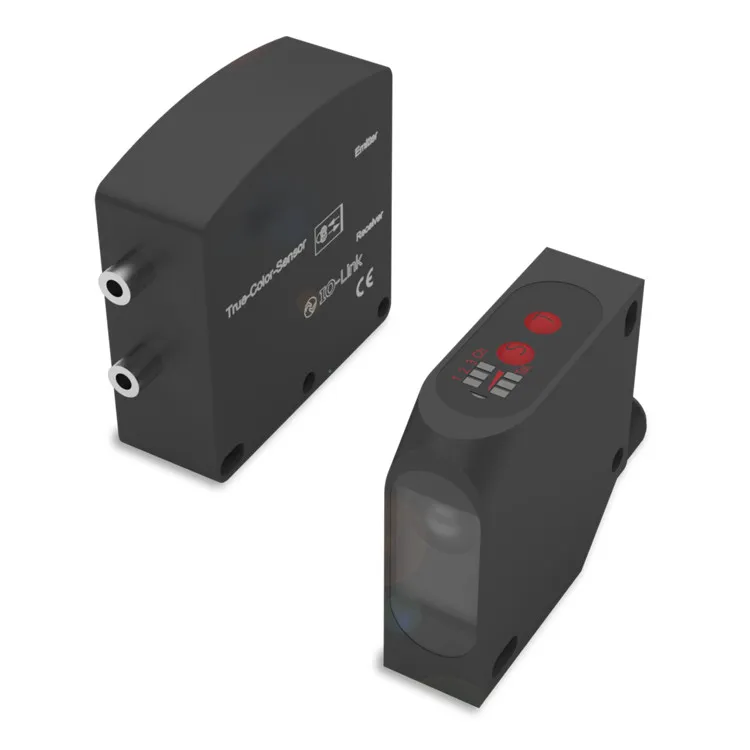
- The Colour Sensor: Obviously, you need the sensor itself. Make sure you've got the right model for your specific application. If you're not sure, you can always reach out to us, and we'll help you pick the best one.
- Mounting Hardware: This could include screws, brackets, or adhesive, depending on where you're going to mount the sensor.
- Cables and Connectors: You'll need cables to connect the sensor to your control system or power source. Make sure they're the right length and type.
- A Control System: This could be a PLC (Programmable Logic Controller), a microcontroller, or a computer. It's what will receive the data from the colour sensor and make decisions based on it.
- A Power Source: The sensor needs power to work. It could be a battery, a power supply unit, or a connection to the main electrical grid.
Step 1: Choose the Right Location
The first step in installing a colour sensor is finding the perfect spot for it. You want to place it where it can accurately detect the colours you're interested in.
- Line of Sight: The sensor needs a clear line of sight to the object whose colour it's going to measure. Make sure there are no obstructions between the sensor and the target.
- Distance: The distance between the sensor and the object matters. Different sensors have different working distances, so check the manufacturer's specifications. If the object is too close or too far, the sensor might not give accurate readings.
- Lighting Conditions: Lighting can have a big impact on the sensor's performance. Try to place the sensor in an area with consistent lighting. Avoid direct sunlight or areas with bright, flickering lights. If necessary, you can use artificial lighting to create a more controlled environment.
Step 2: Mount the Sensor
Once you've found the right location, it's time to mount the sensor.
- Using Mounting Brackets: If your sensor comes with mounting brackets, attach them to the sensor first. Then, use screws or bolts to secure the brackets to the mounting surface. Make sure the sensor is level and firmly attached.
- Adhesive Mounting: If you're using adhesive, clean the mounting surface thoroughly to ensure good adhesion. Apply the adhesive to the back of the sensor or the mounting surface, and press the sensor firmly into place. Let the adhesive dry according to the manufacturer's instructions.
- Screw Mounting: For screw mounting, drill holes in the mounting surface according to the sensor's mounting holes. Insert the screws through the sensor's holes and into the holes in the mounting surface. Tighten the screws securely, but don't over-tighten them, as this could damage the sensor.
Step 3: Connect the Cables
Now that the sensor is mounted, it's time to connect the cables.
- Power Cable: Connect the power cable to the sensor's power input. Make sure the voltage and polarity are correct. If you're using a power supply unit, connect it to the main electrical grid and then to the sensor.
- Data Cable: Connect the data cable to the sensor's output and to your control system. This cable will transmit the colour data from the sensor to the control system. Make sure the connectors are properly seated and secured.
- Grounding: If the sensor requires grounding, connect the grounding cable to the sensor and to a proper ground point. This helps to prevent electrical interference and ensures the sensor works correctly.
Step 4: Configure the Sensor
After connecting the cables, you need to configure the sensor to work with your specific application.
- Calibration: Most colour sensors need to be calibrated before use. Calibration involves teaching the sensor what the different colours look like. You can do this by placing known colour samples in front of the sensor and using the calibration software or controls to set the reference values.
- Setting Parameters: You may need to set other parameters, such as the sensitivity, the sampling rate, and the output format. These parameters can usually be adjusted using the sensor's built-in controls or through the calibration software.
- Testing: Once you've configured the sensor, test it to make sure it's working correctly. Place different coloured objects in front of the sensor and check if the readings on the control system match the actual colours. If there are any issues, you may need to adjust the calibration or the parameters.
Step 5: Integrate with Your System
The final step is to integrate the colour sensor with your overall system.
- Programming the Control System: If you're using a PLC or a microcontroller, you'll need to write a program to receive the data from the sensor and take appropriate actions. This could involve sorting products based on colour, triggering an alarm if a wrong colour is detected, or adjusting a process based on the colour readings.
- Monitoring and Maintenance: Once the system is up and running, monitor the sensor's performance regularly. Check for any signs of wear and tear, and make sure the readings are still accurate. If necessary, perform maintenance tasks such as cleaning the sensor or replacing the cables.
Troubleshooting
Even if you follow all the steps correctly, you might encounter some issues with the colour sensor. Here are some common problems and how to fix them.
- Inaccurate Readings: If the sensor is giving inaccurate readings, check the lighting conditions, the distance to the object, and the calibration. You may need to recalibrate the sensor or adjust the parameters.
- No Readings: If the sensor isn't giving any readings at all, check the power supply, the cable connections, and the settings on the control system. Make sure the sensor is properly powered and that the data cable is connected correctly.
- Interference: Electrical interference can cause problems with the sensor's performance. Make sure the sensor is properly grounded and that there are no nearby sources of electromagnetic interference, such as motors or transformers.
Other Types of Sensors
While we're on the topic of sensors, it's worth mentioning some other types that you might find useful. For example, Counter Sensor can be used to count objects as they pass by. They're often used in manufacturing and packaging applications. And Contrast Sensor can detect differences in contrast between two areas. They're useful for tasks like detecting the presence of labels or markings on products.
Wrapping Up
Installing a colour sensor might seem like a complex task, but if you follow these steps, you should be able to do it successfully. Remember, if you have any questions or need help along the way, don't hesitate to reach out to us. We're here to support you every step of the way.
If you're interested in purchasing a colour sensor or any other sensors we offer, we'd love to hear from you. Just get in touch with us, and we can start a conversation about your specific needs. Whether you're a small business or a large corporation, we have the products and expertise to help you find the right solution.
References
- Manufacturer's documentation for the colour sensor
- Industry standards and best practices for sensor installation