
Adding graphics to Siemens HMI screens can significantly enhance the user experience, improve operational efficiency, and make the interface more intuitive. As a Siemens HMI supplier, we understand the importance of this process and are here to guide you through the steps. This blog post will explore how to add graphics to Siemens HMI screens, covering everything from the basics to advanced techniques.
Understanding the Basics of Graphics in Siemens HMI
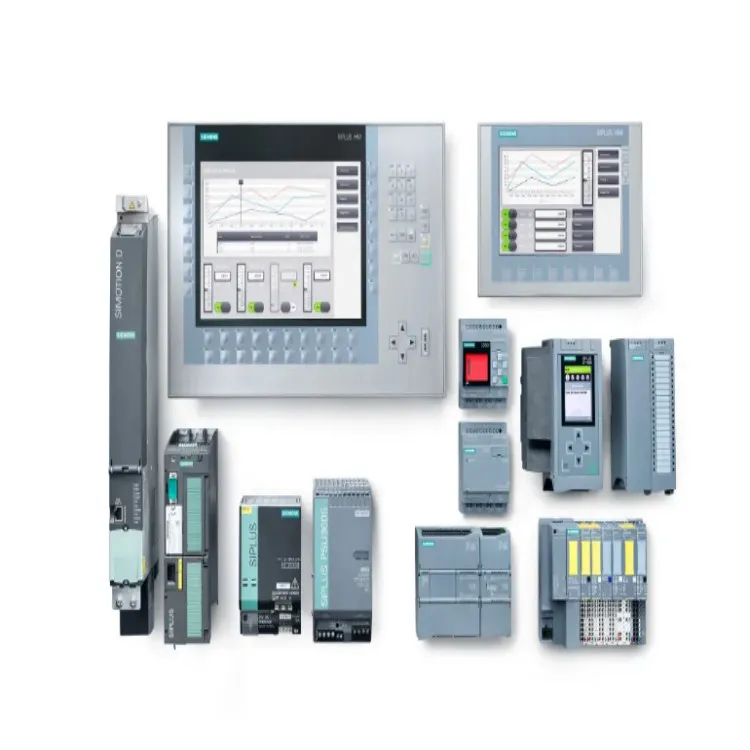
Before diving into the process of adding graphics, it's essential to understand the different types of graphics supported by Siemens HMIs. Siemens offers a range of HMI devices, including the Siemens Basic HMI and Siemens SIMATIC HMI, each with its own capabilities and limitations when it comes to graphics.
Siemens HMIs support various graphic formats, such as BMP, JPEG, and PNG. These formats offer different levels of quality and file sizes, so it's important to choose the right one for your needs. For example, BMP is a simple and uncompressed format that provides high-quality graphics but can result in large file sizes. JPEG, on the other hand, is a compressed format that reduces file size but may lead to a loss of image quality. PNG is a versatile format that offers a good balance between quality and file size, making it a popular choice for HMI graphics.
Preparing Graphics for Siemens HMI
Once you have decided on the graphic format, the next step is to prepare your graphics for use in the Siemens HMI. This involves several key steps:
- Resolution and Size: Ensure that your graphics have the appropriate resolution and size for the HMI screen. Siemens HMIs come in different screen sizes and resolutions, so it's important to match your graphics to the specific device. A general rule of thumb is to use a resolution of at least 1024x768 pixels for high-quality graphics.
- Color Depth: Consider the color depth of your graphics. Siemens HMIs support different color depths, ranging from 1-bit monochrome to 24-bit true color. Higher color depths provide more vibrant and detailed graphics but may also increase the file size. Choose a color depth that balances quality and performance.
- File Naming and Organization: Use clear and consistent file names for your graphics. This will make it easier to manage and locate your files in the HMI project. Organize your graphics into folders based on their function or category to keep your project organized.
- Graphic Editing Software: Use a graphic editing software, such as Adobe Photoshop or GIMP, to create and edit your graphics. These tools allow you to adjust the size, resolution, color, and other properties of your graphics to ensure they meet the requirements of the Siemens HMI.
Adding Graphics to Siemens HMI Screens
Once your graphics are prepared, you can start adding them to the Siemens HMI screens. The process may vary depending on the specific HMI device and the software you are using, but the general steps are as follows:
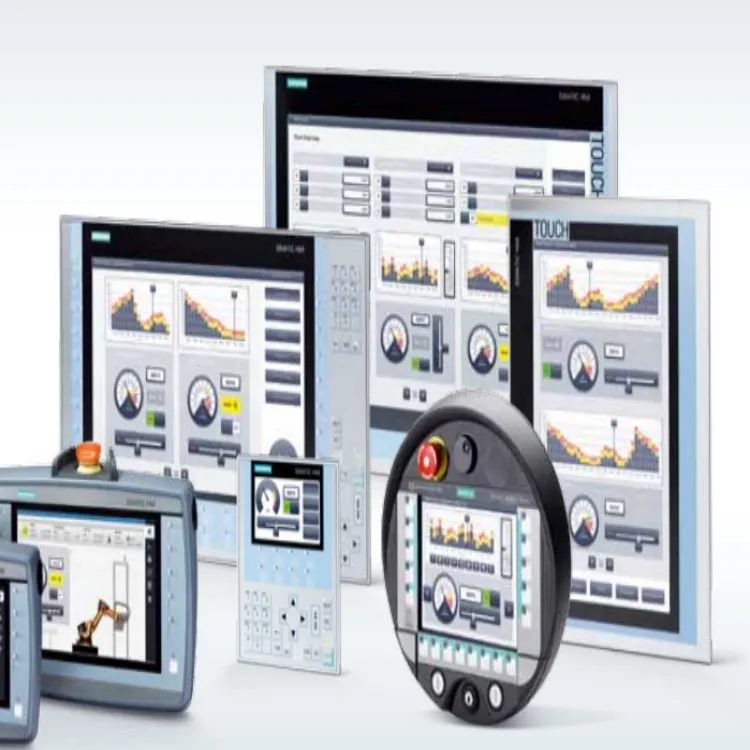
- Open the HMI Project: Launch the Siemens HMI programming software, such as WinCC flexible or TIA Portal, and open your HMI project.
- Create a New Screen or Select an Existing Screen: If you are adding graphics to a new screen, create a new screen in the project. If you are adding graphics to an existing screen, select the screen you want to work on.
- Insert Graphics: In the programming software, locate the tool or option for inserting graphics. This may be a button labeled "Insert Graphic" or something similar. Click on the tool and browse to the location of your prepared graphics files. Select the graphics you want to add to the screen and click "OK".
- Position and Resize the Graphics: Once the graphics are inserted into the screen, you can position and resize them as needed. Use the mouse to drag the graphics to the desired location on the screen and use the resize handles to adjust the size of the graphics. You can also use the alignment and distribution tools to ensure that the graphics are properly aligned and spaced.
- Configure Graphic Properties: After positioning and resizing the graphics, you may need to configure their properties. This includes setting the transparency, rotation, and other visual effects. You can also link the graphics to variables or events in the HMI project to make them interactive.
- Test and Validate the Screen: Once you have added and configured the graphics, it's important to test and validate the screen to ensure that everything is working correctly. Use the simulation or runtime mode in the programming software to test the screen and check for any errors or issues. Make any necessary adjustments to the graphics or their properties until the screen meets your requirements.
Advanced Techniques for Adding Graphics
In addition to the basic steps outlined above, there are several advanced techniques that you can use to enhance the graphics on your Siemens HMI screens:
- Animation: Add animation to your graphics to make them more dynamic and engaging. Siemens HMIs support various types of animation, such as moving objects, changing colors, and rotating images. You can use the animation tools in the programming software to create and configure animations for your graphics.
- 3D Graphics: Incorporate 3D graphics into your HMI screens to provide a more realistic and immersive experience. Siemens HMIs support 3D graphics through the use of 3D drivers and libraries. You can use 3D modeling software, such as 3ds Max or Blender, to create 3D models and then import them into the HMI project.
- Custom Graphics: Create custom graphics that are tailored to your specific application or brand. This can help to differentiate your HMI screens from others and make them more memorable. You can use graphic editing software to create custom graphics from scratch or modify existing graphics to meet your needs.
- Interactive Graphics: Make your graphics interactive by linking them to variables or events in the HMI project. For example, you can create a button graphic that changes color when pressed or a status indicator graphic that updates in real-time based on the value of a variable. This can improve the user experience and make the HMI screens more intuitive to use.
Conclusion
Adding graphics to Siemens HMI screens is an important part of creating an effective and user-friendly interface. By understanding the basics of graphics in Siemens HMIs, preparing your graphics properly, and using the appropriate techniques, you can enhance the visual appeal and functionality of your HMI screens. As a Siemens HMI supplier, we are committed to providing our customers with the support and resources they need to add graphics to their HMI screens successfully.
If you are interested in learning more about adding graphics to Siemens HMI screens or are looking to purchase Siemens HMI products, please contact us to discuss your requirements. We would be happy to assist you with your project and provide you with the best solutions for your needs.
References
- Siemens WinCC flexible User Manual
- Siemens TIA Portal User Manual
- Adobe Photoshop User Guide
- GIMP User Documentation