
As a seasoned supplier of Counter Sensors, I understand the crucial role these devices play in various industrial applications. Counter sensors are essential for accurately counting objects, monitoring production lines, and ensuring efficient operations. However, like any technical equipment, they can encounter issues that may disrupt the workflow. In this blog post, I will share some valuable insights on how to troubleshoot a counter sensor effectively.
Understanding the Basics of a Counter Sensor
Before delving into troubleshooting, it's important to have a clear understanding of what a counter sensor is and how it works. A Counter Sensor is a type of optoelectronic sensor that detects the presence or absence of an object and converts this information into a countable signal. These sensors use light beams to detect objects, and they can be classified into different types based on their operating principles, such as through-beam sensors, retro-reflective sensors, and diffuse sensors.
Common Issues and Troubleshooting Steps
1. No Signal Output
- Check the Power Supply: The first step in troubleshooting a counter sensor with no signal output is to check the power supply. Ensure that the sensor is properly connected to a stable power source and that the voltage is within the specified range. A loose or faulty power connection can prevent the sensor from functioning correctly.
- Inspect the Wiring: Examine the wiring connections between the sensor and the control system. Look for any loose, damaged, or corroded wires. A broken wire can interrupt the signal transmission and cause the sensor to malfunction. If you find any issues with the wiring, repair or replace the damaged sections.
- Verify the Sensor Settings: Make sure that the sensor is set up correctly. Check the sensitivity settings, output mode, and other parameters to ensure that they are appropriate for the application. Incorrect settings can lead to false readings or no signal output at all. Refer to the sensor's user manual for detailed instructions on how to adjust the settings.
2. False Readings
- Clean the Sensor Lens: Dust, dirt, or debris on the sensor lens can interfere with the light beam and cause false readings. Use a clean, dry cloth to gently wipe the lens and remove any contaminants. Avoid using abrasive materials or solvents that could damage the lens.
- Check for Interference: External factors such as electromagnetic interference (EMI), radio frequency interference (RFI), or mechanical vibrations can affect the sensor's performance and cause false readings. Ensure that the sensor is installed away from sources of interference. If necessary, use shielding materials or filters to reduce the impact of interference.
- Adjust the Mounting Position: Incorrect mounting of the sensor can also lead to false readings. Make sure that the sensor is installed at the correct distance and angle from the objects being detected. The sensor's field of view should be clear and unobstructed. If necessary, reposition the sensor to optimize its performance.
3. Inconsistent Counting
- Evaluate the Object Characteristics: The size, shape, color, and reflectivity of the objects being counted can affect the sensor's performance. Ensure that the objects are within the sensor's detection range and that their characteristics are consistent. If the objects have irregular shapes or varying reflectivity, you may need to adjust the sensor's settings or choose a different type of sensor.
- Check the Response Time: The response time of the sensor determines how quickly it can detect and count objects. If the objects are moving too fast or the production line speed is too high, the sensor may not be able to keep up, resulting in inconsistent counting. Consider using a sensor with a faster response time or adjusting the production line speed to ensure accurate counting.
- Calibrate the Sensor: Over time, the sensor's performance may degrade, leading to inconsistent counting. Periodically calibrate the sensor to ensure its accuracy. Follow the manufacturer's instructions for calibration, which may involve using a reference object or a calibration tool.
Advanced Troubleshooting Techniques
1. Using Diagnostic Tools
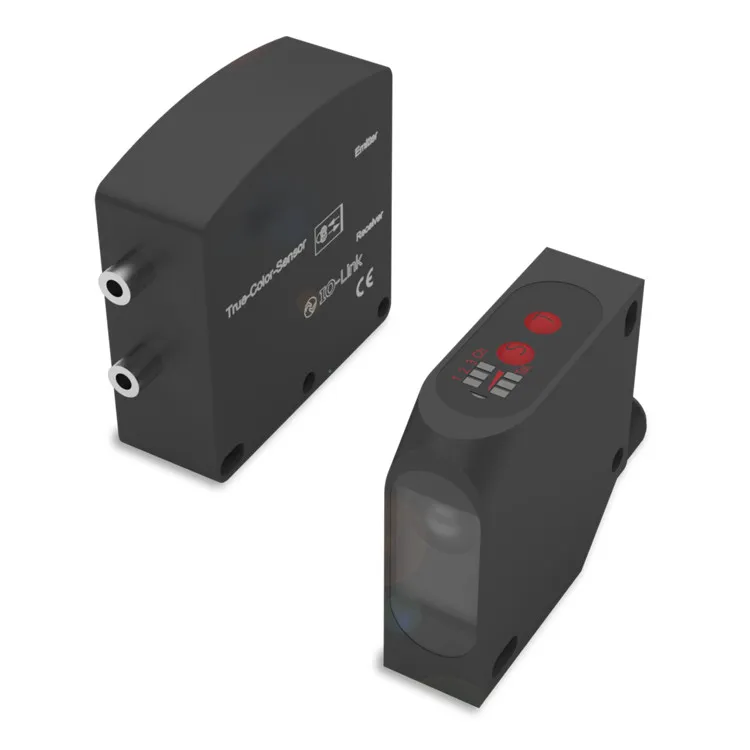
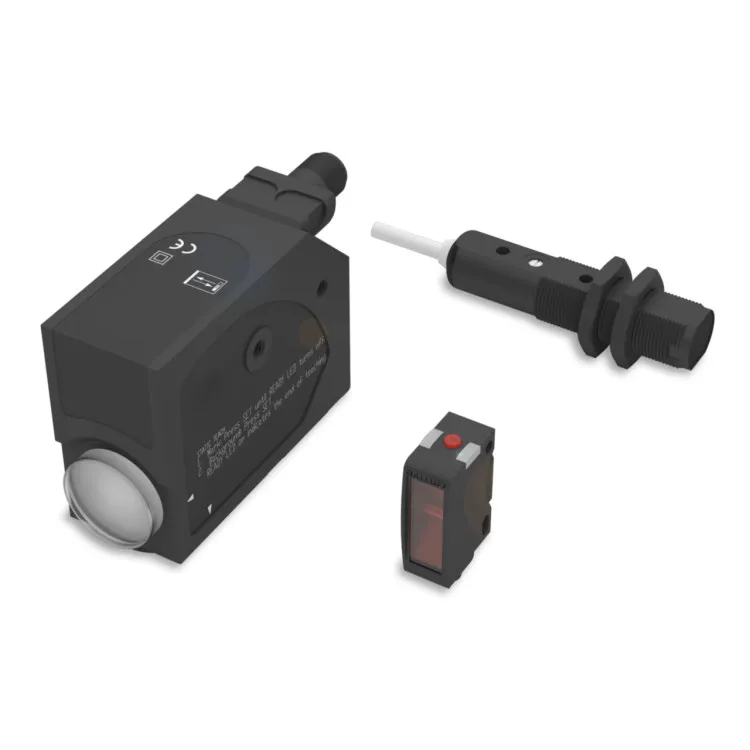
Many modern counter sensors are equipped with diagnostic features that can help you identify and troubleshoot issues. These features may include LED indicators, status messages, or built-in diagnostic functions. Use these tools to check the sensor's operating status, detect faults, and obtain detailed information about the sensor's performance.
2. Comparing with a Known Good Sensor
If you suspect that a particular sensor is malfunctioning, you can compare its performance with a known good sensor. Install the known good sensor in the same location and under the same conditions as the suspect sensor. Compare the counting results and other performance parameters of the two sensors. If there is a significant difference, it is likely that the suspect sensor is faulty and needs to be replaced.
3. Seeking Technical Support
If you have tried all the troubleshooting steps and are still unable to resolve the issue, it may be necessary to seek technical support from the sensor manufacturer or a qualified technician. Provide the manufacturer with detailed information about the problem, including the sensor model, the application, the symptoms, and the steps you have taken to troubleshoot. The manufacturer's technical support team can provide you with additional guidance, troubleshooting tips, or arrange for on-site service if necessary.
Preventive Maintenance
To minimize the occurrence of issues with counter sensors, it is important to implement a preventive maintenance program. This program should include regular inspections, cleaning, calibration, and replacement of worn-out components. By taking proactive measures, you can extend the lifespan of the sensors, improve their reliability, and reduce downtime.
Conclusion
Troubleshooting a counter sensor requires a systematic approach and a good understanding of the sensor's operating principles and application requirements. By following the troubleshooting steps outlined in this blog post, you can quickly identify and resolve common issues with counter sensors. Remember to always refer to the sensor's user manual for detailed instructions and safety precautions. If you need further assistance, don't hesitate to contact us. As a leading supplier of Counter Sensor, Contrast Sensor, and Colour Sensor, we are committed to providing high-quality products and excellent technical support. If you are interested in purchasing our sensors or have any questions about our products and services, please feel free to contact us for a consultation. We look forward to working with you to meet your industrial sensing needs.
References
- Manufacturer's user manuals for counter sensors
- Industry standards and best practices for optoelectronic sensor installation and maintenance
- Technical articles and research papers on sensor troubleshooting and diagnostics